My First Custom Split Keyboard with Raspberry Pi Pico
A few months ago, I started experiencing wrist pain — specifically in my left hand — a clear sign of RSI (Repetitive Strain Injury). As a software engineer, I type all day, and I realized I couldn’t ignore the discomfort any longer.
So I decided to take matters into my own hands — literally — by building a custom split keyboard that better fit my ergonomic needs. The result? Not only did I learn a lot through the process, but my RSI pain is now completely gone after just two months of daily use.
Cardboard and Printed Layout
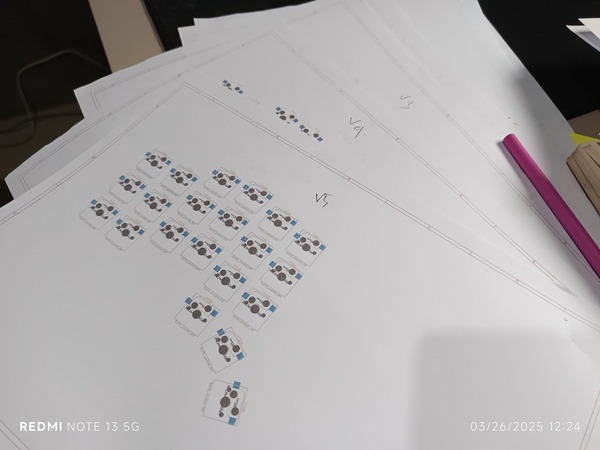
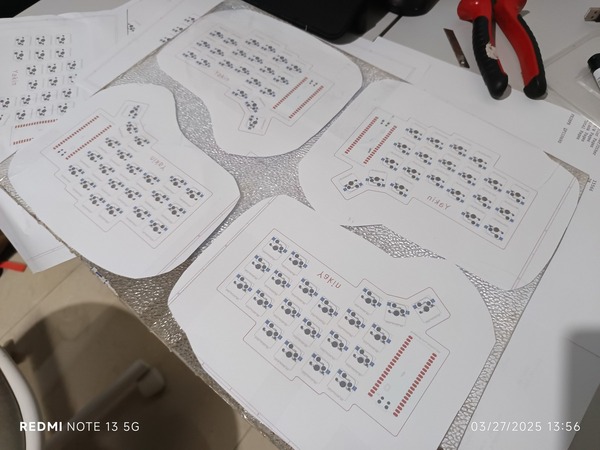
Before I jump and build the real keyboard, I wanted to get feel of split keyboard first, and since I don’t have access to it yet, I decided to just print it on the paper and just try to lay my hand there.
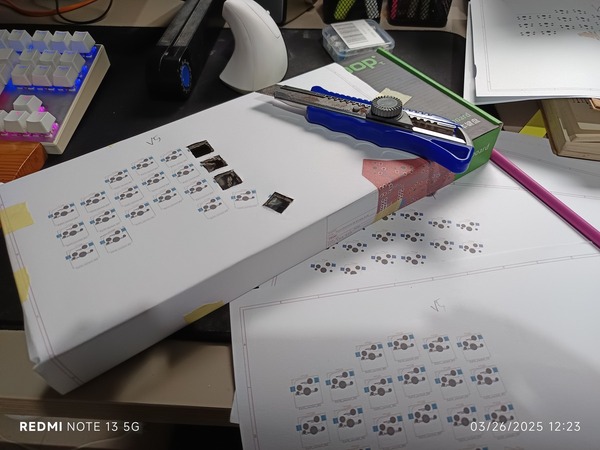
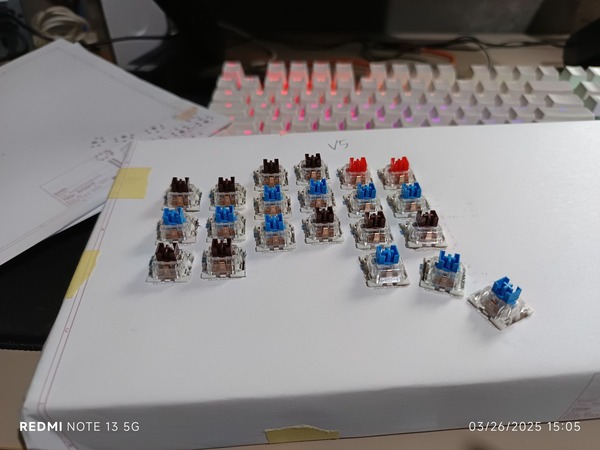
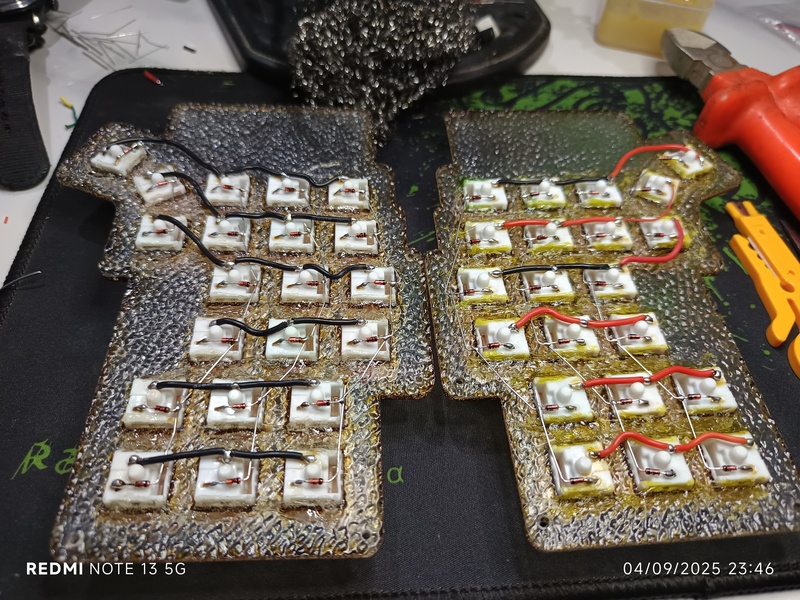
Next, after I get the feel on what kind of layout I wanted, I started with a simple prototype. I printed out a layout based on an ortholinear QWERTY design, lay it on top of cardboard and then started to make a hole for the MX-style switches. This early test helped me understand how my fingers would travel across the keys and how much spacing felt natural.
I didn’t want to switch to something like Dvorak or Colemak because sometimes I still wanted to be able to use my laptop built-in keyboard. So, I wanted to keep the familiar QWERTY layout but remove the traditional staggered rows — which I’ve come to realize aren’t really ergonomic at all. Ortholinear was the perfect middle ground: it’s cleaner, easier on the hands, and still intuitive.
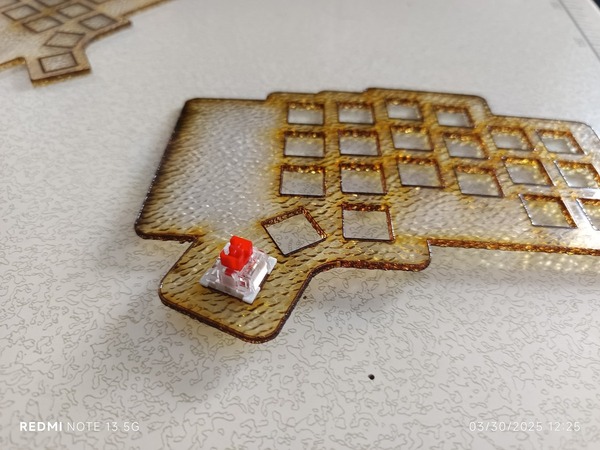
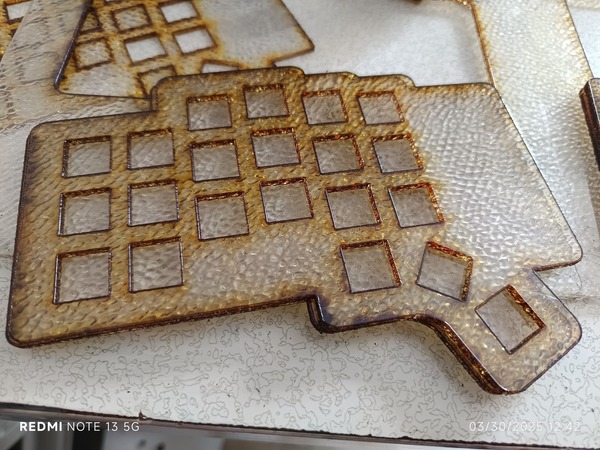
Building the Case with a CNC Machine
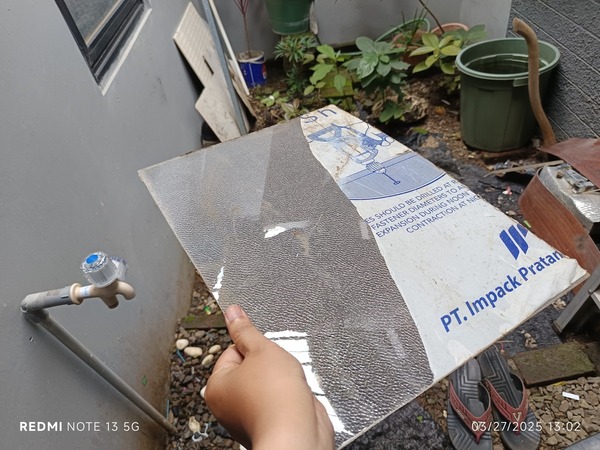
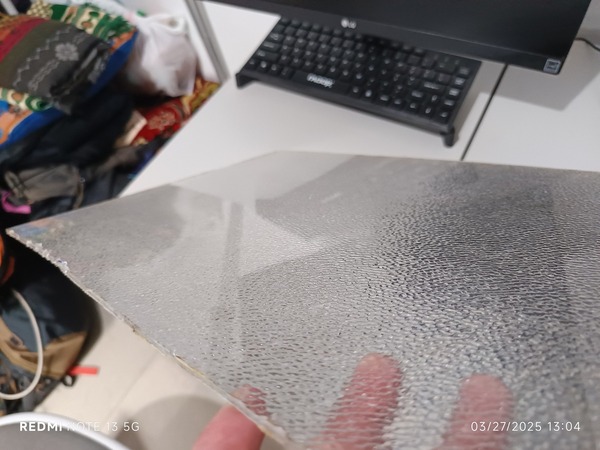
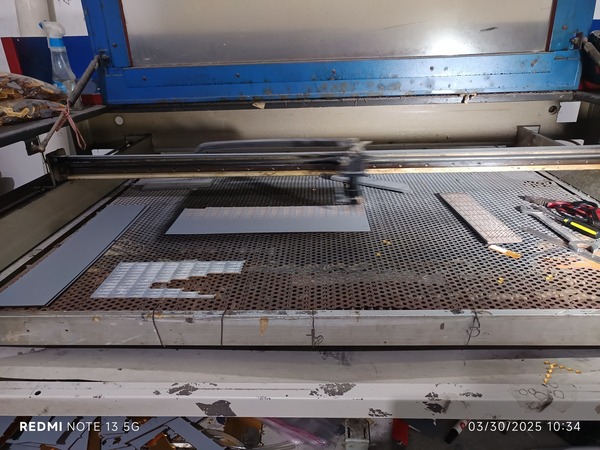
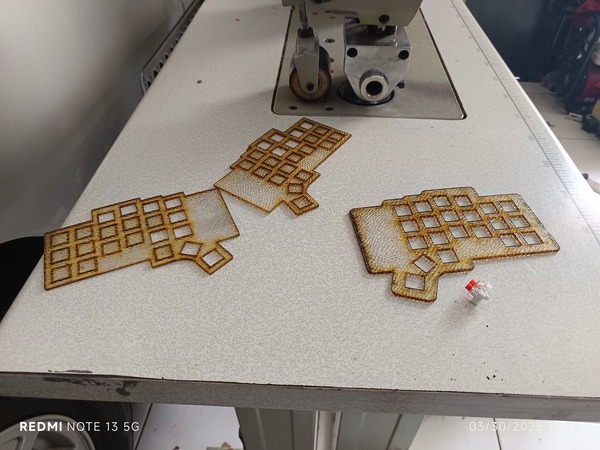
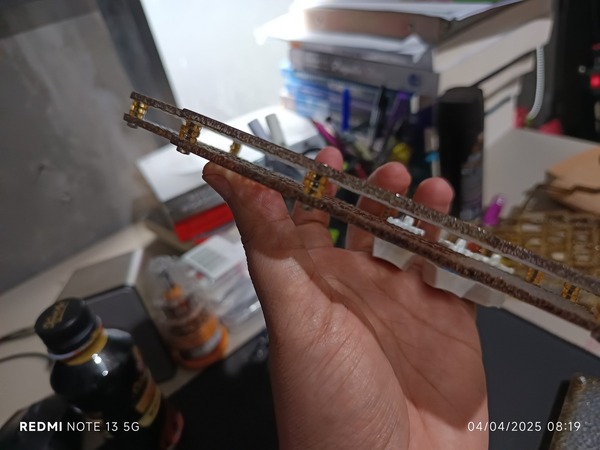
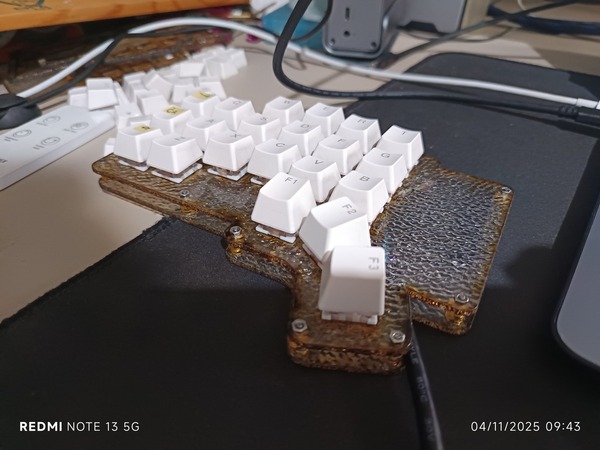
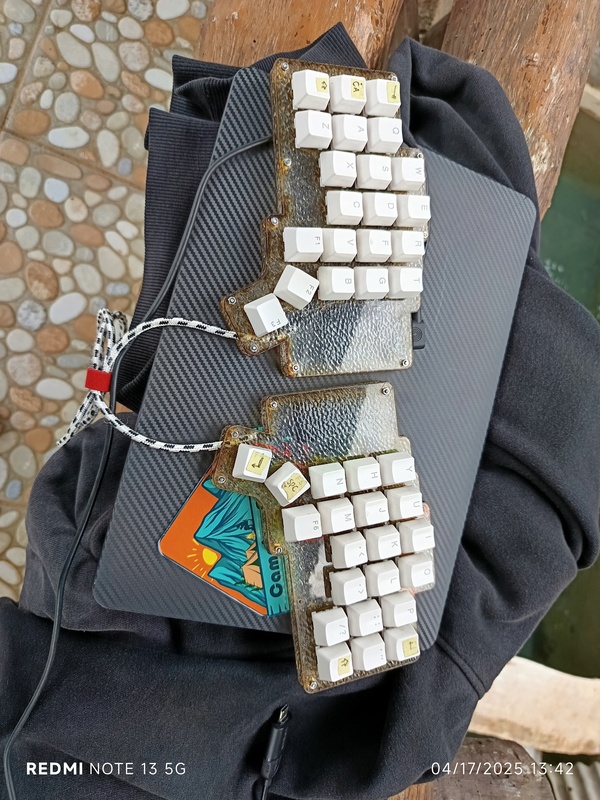
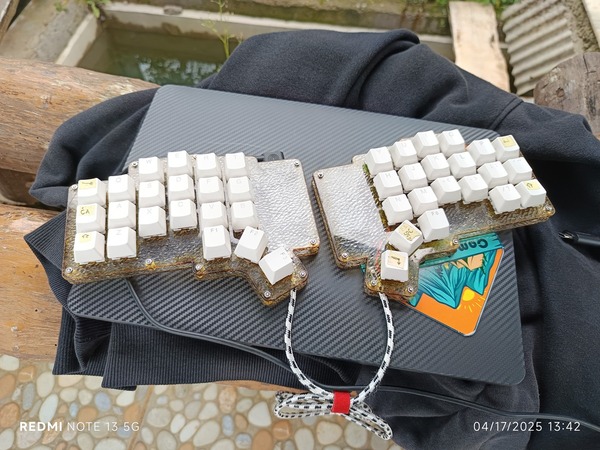
Because I don’t have a 3D printer, I took a different route. My family happens to have a CNC machine that is used to use for making their logo from acrylic for their hijab business, so I designed the keyboard case as a sandwich-style build with that.

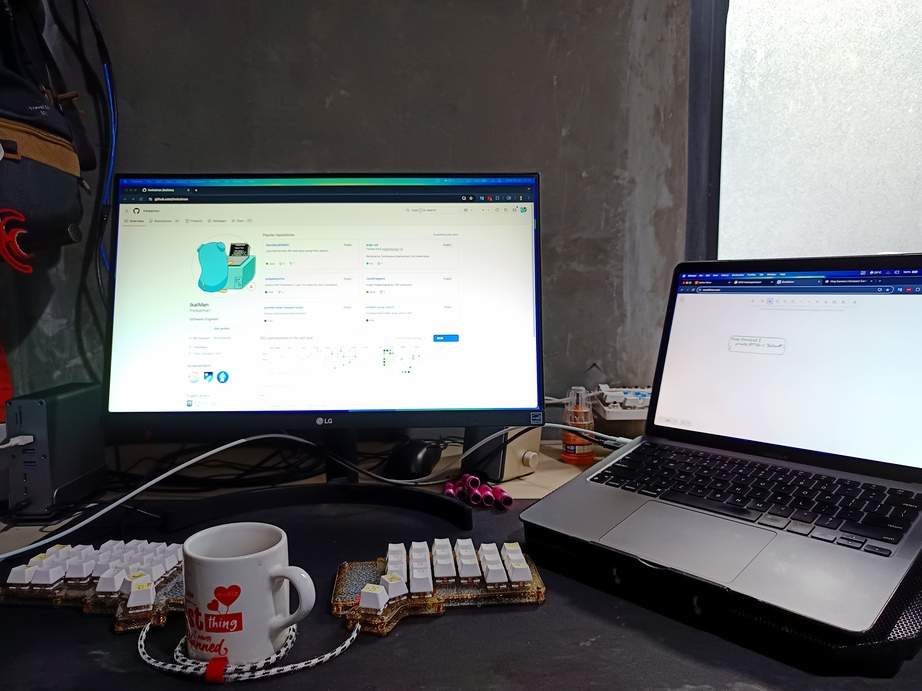
Powered by Raspberry Pi Pico and KMK Firmware
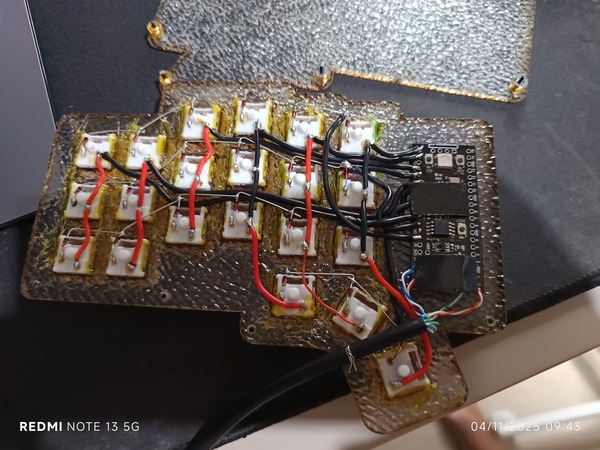
For the brains of the keyboard, I chose the Raspberry Pi Pico, this is because its cheaper compared to the other such as pro micro or nice!nano — one for each half. I’m running KMK firmware, a Python-based firmware built for custom keyboards. KMK is especially nice if you’re already comfortable with Python; it makes defining layers, combos, and key behavior straightforward.
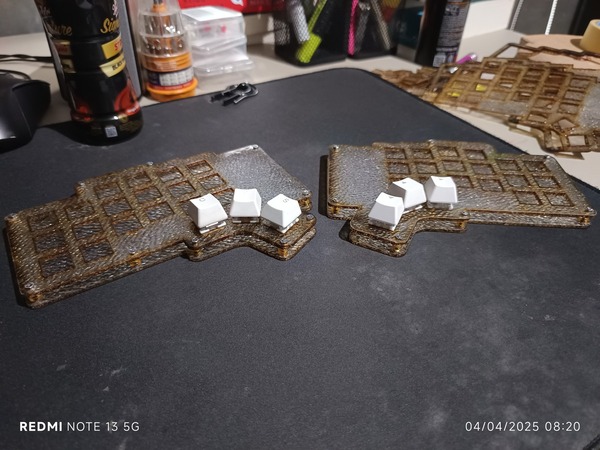
2 Months In: No More RSI
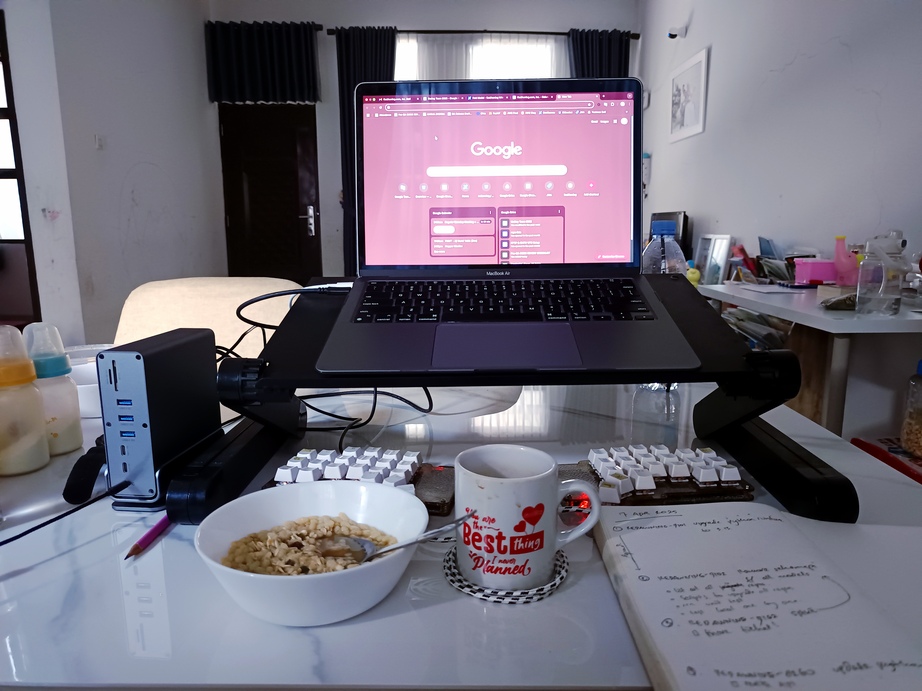
After two months of using this keyboard as my daily driver, the results are clear: my wrist pain is gone. The split design lets me keep my shoulders relaxed and wrists straight, while the ortholinear layout reduces finger movement strain. It’s a night-and-day difference from standard keyboards for me.
What’s Next: Making It More Portable
Right now, the keyboard uses MX-style switches, which are pretty bulky. For my next build, I’m exploring low-profile switch options to make a more portable version — something I can toss into a backpack and use on the go. I’m also considering integrating a custom cable solution or going wireless if power efficiency allows.
Final Thoughts
This project started as a way to deal with wrist pain, but it ended up becoming one of the most satisfying and useful DIY builds I’ve ever done. I combined software, hardware, and a bit of CNC machining to create something uniquely mine — and it solved a real problem.
If you’ve ever struggled with RSI or just want to try something ergonomic and custom, I highly recommend diving into the world of DIY keyboards. You don’t need a 3D printer, and you don’t need to switch to a weird layout — just start simple and iterate. Even there’s a lot of pre-made, read-to-build custom split keyboard that is available in some eCommerce website, you probably wanted to go that route if you prefer to just build it.